Showing posts with label illustration. Show all posts

Thursday, February 20, 2014

Postcards of Truth

Hello peoples of the internet! Last week I worked on a project that was about creating souvenirs. The task was to create souvenirs from two different places, one of which had to be Denmark. The other location I chose was New York City (like, duh). I pondered what kind of souvenirs are actually useful instead of just tchotchkes.

 Magnets and postcards won over all else. My own little spin on them was the theme I implemented, called Postcards of Truth. That theme extends to the magnets too. I thought these could be packaged as a set of 8-10 magnets + 2 postcards. I think you'd have to have a sense of humor about either place though or the person you'd be sending the cards to might be wondering whether you were enjoying your time there... I chose to comment on the rain in Denmark (again, like duh) and join in on the age old tradition of complaining about the weather, with the rest of the Danes. 

When it comes to the New York City postcards, my beloved home, I wanted to address the absolutely astounding number of homeless people that inhabit the city. Numbers are estimated in the 50,000's. Since there is profound gap in the "haves" and the "have nots" that everyone seems to know and take for granted I wanted to create something that would start a dialogue about why and what can we do to make the city better. Hope you enjoy!


D'oh! Yes NYC is upside down


Greetings from Denmark, ink on paper


Magnetic strips, ink on paper


Greetings from New York, ink on paper

Wednesday, February 12, 2014

Nature Art Challenge

Look who's been looting graveyards for fallen tree bark and other random natural objects for collage/installations?! That's right, it's me. I was given a challenge by my professor of my latest course, Beyond the Pages at DKDS. It's focusing on telling stories by creating illustrations in 3D.

So, we as a class had to each create 2 pieces as part of a 3 part process. First, we needed to collect our natural (not manmade) objects, then photograph them. Ok, done. Then take those objects and make something, without any man made tools (i.e. tape, glue etc...). Right-o, now what? Then make something that combines the natural objects and manmade objects to form a manmade/natural collaboration(even though we as human beings are apart of nature....that's another story).

Anyway, below you'll find what I came up with- oh yea, I almost forgot to mention an important fact: we needed to follow a theme. The theme was mainly a collection of words like, Black Ocean, Underground, Midnight, Nocturnal and Darkness. There it is! 


Disclaimer: This project still needs some final composition pictures, in water! Stay tuned-they'll be posted soon.


This piece was the totally natural objects....


Feathers, beet root juice I put through a juicer and raw wool (+honey as an adhesive)


This one was the nature + manmade objects. Final elements in composition.

In process shot of natural elements.

Chestnut detail.

In process shot of overall composition.

Detailed shot of the hand dyed egg in beet juice.

Playing with nature....

Whittled live branches dipped in beet juice. 

Beet root juice and a whittled feather = quill!


Stop Motion Animation

Alright, internetters, I'm on a roll what can I say? Here are some pictures and finished product of a piece I finished a few months back.

Yes, I am slow to post, but better late than never is the story of my life (ask anyone that knows me)! Back to the good stuff, I took a course at school DKDS, with the formal title Self-formulated Project within a Shared Framework. Basically, I could make up my own project, do it, and present it, then defend my choices to my professors when they saw the finished product. Right away I knew I wanted to try my hand at creating my own stop motion armature. What is that, you ask? Check it out here. I hit up the University of youtube A.S.A.P. and after hours of fiddling around "learning", I set to work. Below you can follow my process in chronological order to the big finish with a video of the final product. Enjoy the fruits of my labor as I took my first crack at creating armature from scratch, building a puppet, dressing said puppet and trying to make her walk!


How's my hair?


                 Process Process Process

Getting started with pow-pow-power tools and heavy wire. 
Playing God.
Let there be skinny jeans and braided hair!
Sanding the bottoms of her shoes because a girl's gotta be able to stand on her own two feet.
Am I right, ladies?
Playing around with hairstyles and the new rig!
Girlfriend is camera ready, let's get this party started! 
Hard at work (don't mess it up don't mess it up don't mess it up)
Recording in the studio! 


Saturday, February 8, 2014

Trophy Hunting Commentary

Howdy Everyone,


It's been too long! I'd just like to update the blogosphere with a quick little piece I did for an assignment at school. I've been taking my Master's degree at the Danish Design School, here in Copenhagen, Denmark. Even though I'm classified as a Production Design student, I've been taking A Visual Communication course that is concentrating on Dimensional Illustration. Which is like, my thing, soooooo below you'll see some snapshots of the finished piece. The task was to create a "box" that had a theme of Apartment of Strange Pets. Trophy Hunting came to mind and then I quickly set to work sculpting and cutting up foam core. The result was this eerily aesthetically pleasing room full of dead animals.


White Fimo polymer clay, wooden floor planks, white foam core


Thursday, May 9, 2013

Pink Elephant

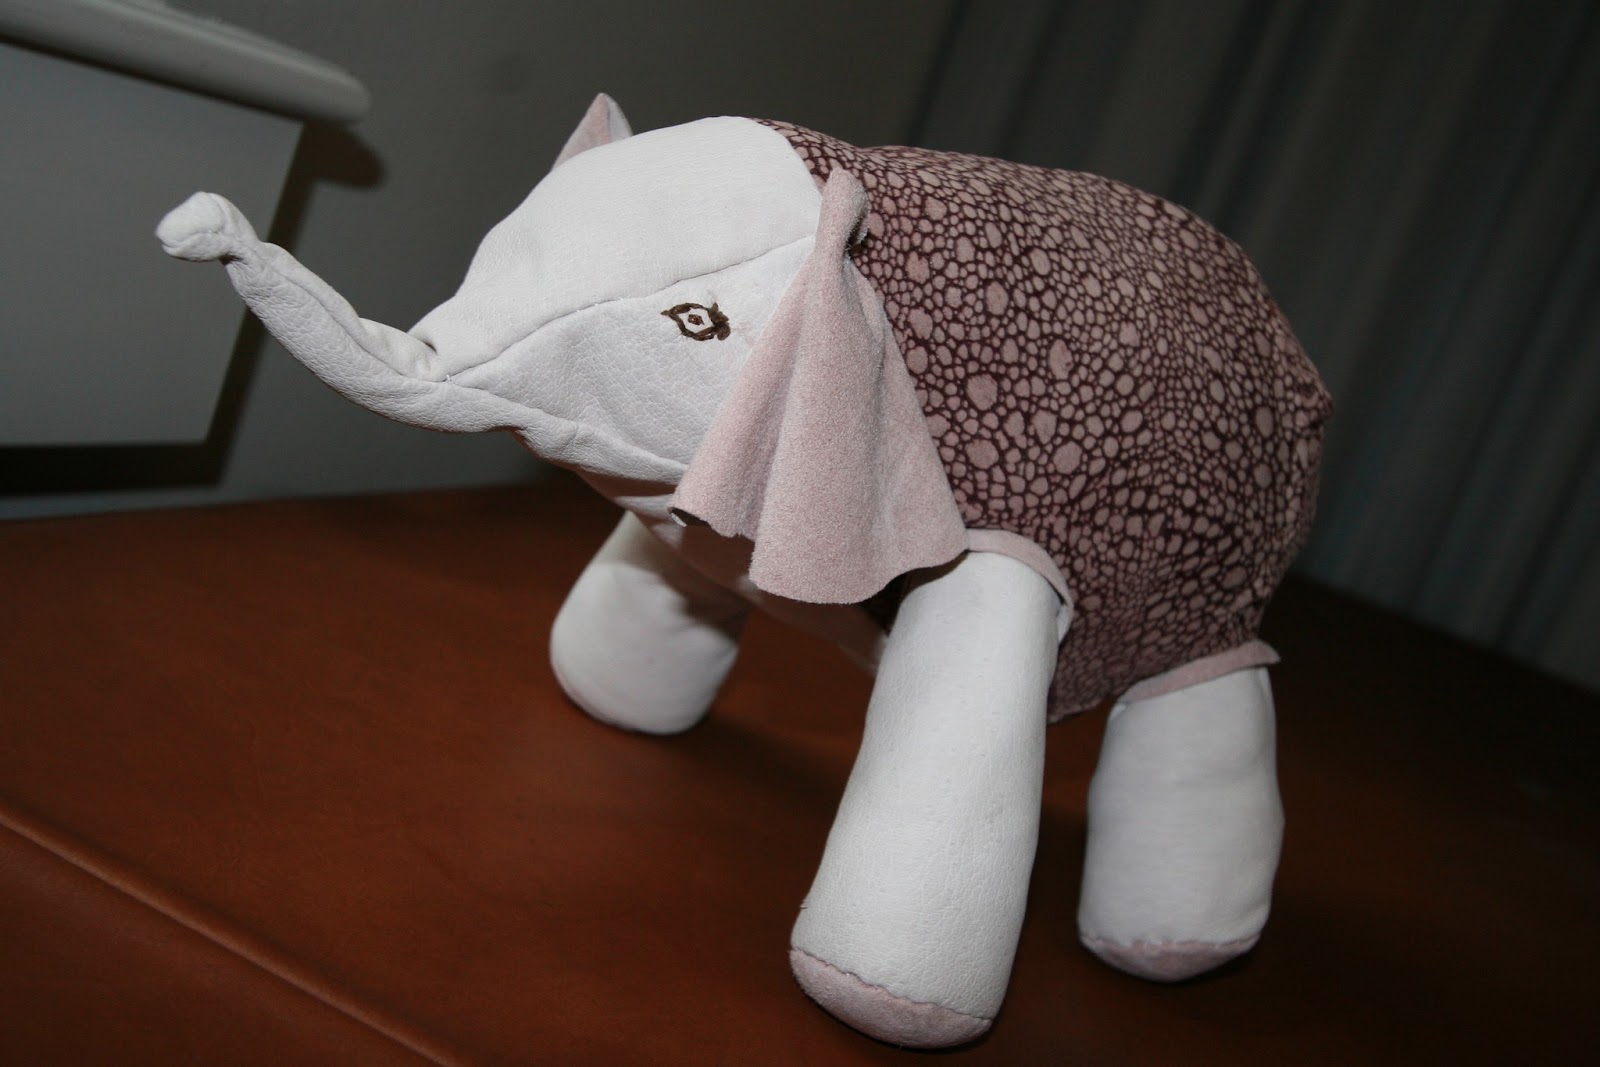
Hi and welcome back to my blog! Today I'm finishing up a spontaneous project I began the other day using real, dyed leather scraps that I had left over from a previous job for a client. I didn't plan anything on paper, I just sort of imagined it and have been mapping out the logistics as I go along. That's why I haven't posted any sketches and you may feel as though you are just jumping right into the middle of the process. Let me walk you through it quickly.....


The basic materials I had lying around...2 kinds of pink leather....(unseen materials include thread, needles, and really sharp scissors)


I began with cutting out panels to design the nose and overall head. Then I used brown thread to place the eyes. On to the ears (I love their floppiness!) which are just folded layers of leather but have a great realistic movement quality. From there I imagined what kind of legs and feet they have and made four circles and stumbled through several sizes of perpendicular leather cut outs. Finally I sewed all four of them together and they are ready for attachment to the torso.


I used regular old batting to stuff the legs and then went about pinning where they should be placed on the torso. This is as far as I've gotten because it takes a loooooooong time to sew leather, in the round, by hand, while you make it up as you go along. I wanted this to be unique however so of course I'll continue the hard way.  

After I attach both back legs (and create a tail) I plan on doing two important things: including a metal wire skeleton so this doll will take on puppet capabilities for stop motion film and filling the bottoms of the feet with seeds to weigh it down. If I don't, then the elephant could easily tip over, and I'd like to have a little more control over the positioning. 


Finally! At long last I built up enough calluses on my fingers and braved the difficult final stitches to finish this project. Here are the finished product shots.


In the end I gave it as a baptism gift to a relative. I'm happy she got a good home. Thanks for following! 

Monday, January 14, 2013

St. Patrick's Cathedral Lady....makes a comeback!


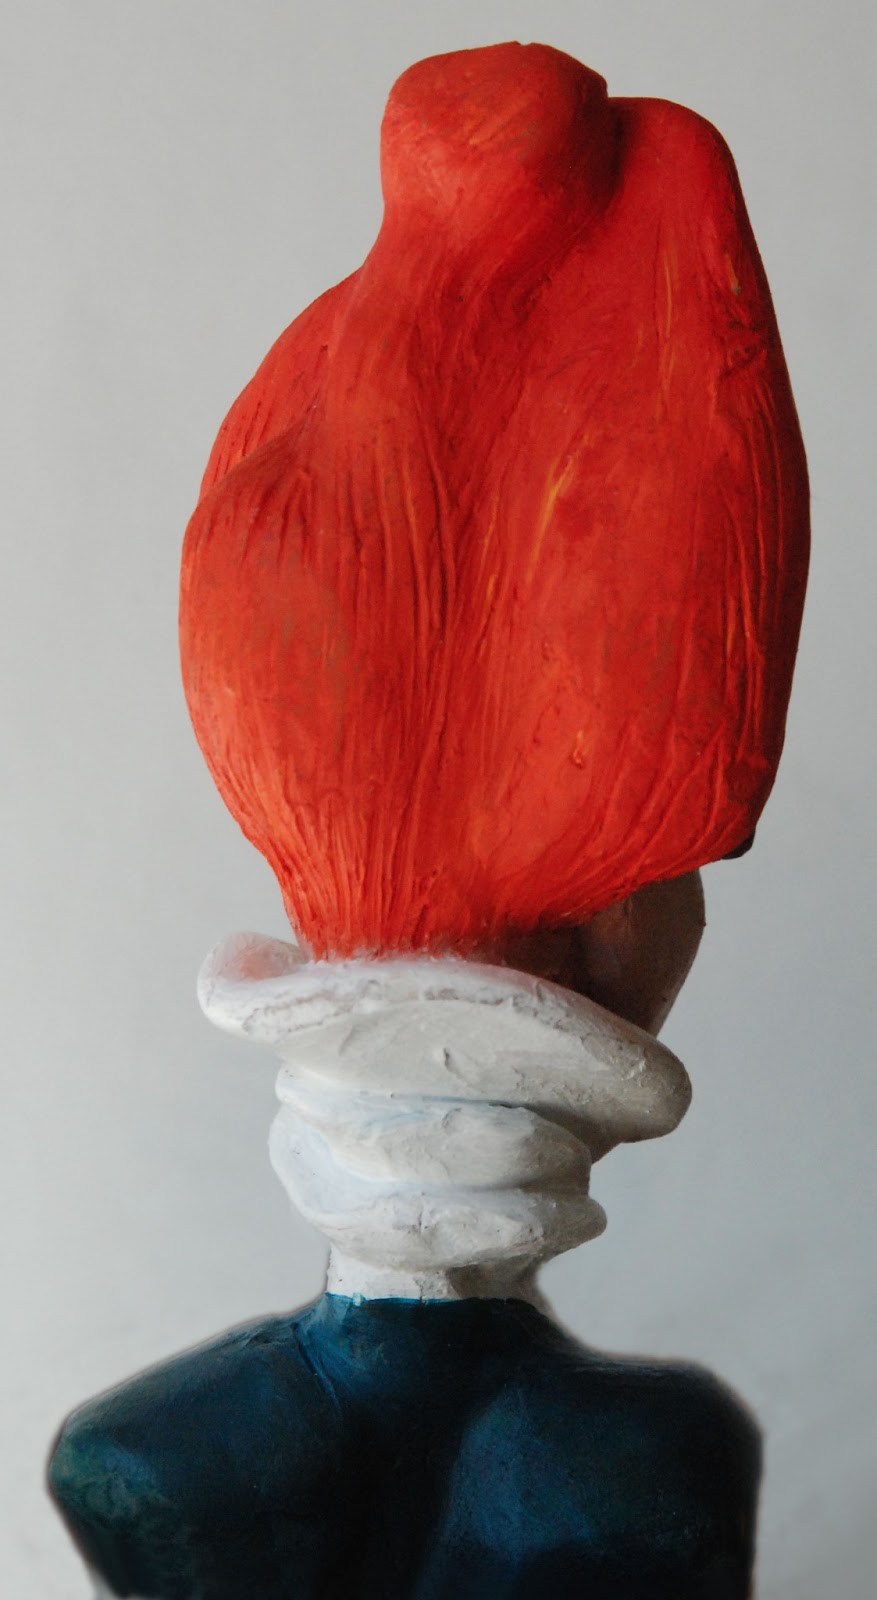
In 2009 before I moved to Copenhagen, I was in my final year at FIT, I discovered my love for sculpture. I was inspired by this human piece of art whose name I don't even know. Late for Bil Donovan's class again, I joined everyone at the St. Patrick's Cathedral on 5th Ave. I managed to sketch a very very small pencil drawing of the receptionist working there. That's long gone now but it doesn't matter because not only did I immortalize her by creating a sculpture of her out of Super Sclupey clay but she's caught the eye of another blogger known as
 Jeremiah's Vanishing New York.

I pulled this recent photo of her from his blog. 


Since I was a total newbie at sculpting with this material and on this small scale, I just thought,"Why not try a bust?" After spotting this fine specimen I literally ran home (it was cold) and began a little crash course with my tools and some sculpey.

A few hours later, this is what I had done.
(my roommate's hand)


I baked her in the oven (hence the aluminum foil)


Then a quick coat of oil paint....
(my hand)


I took some photos of her in some natural lighting and voila! 


Sunday, January 13, 2013

Fun with Mr. Beard/Hr. Skæg!


Fun project alert! Ever since my daughter was introduced to Hr. Skæg (Mr. Beard/Fun), his show has made an appearance in my house on a daily basis. So for Christmas I decided to make her a soft doll of him.


This is Mr. Beard / Hr. Skæg. Ok I'm not gonna lie, I love his show too, and this is my favorite song.


I began with this sketch


Then I just dove right in at the fabric store. I found the perfect shade of red felt. I also bought (a ridiculous amount) of faux fur to use as his beard. I had some batting just laying around to stuff him with. The rest was just scraps of leather and and old tie of my husband's that I up-cycled.


At this point I was really just winging it. I decided to create a little pattern out of thick bristol paper before I started cutting the felt. I traced the shapes and then had at it!

Sådan! Here's the final product- I present to you Hr. Skæg- in doll form!